DAYS Function
Calculate the number of days between two dates
What is the DAYS Function?
The DAYS Function[1] in Excel is a Date/Time function that is used for calculating the number of days between two dates. The DAYS function was introduced in MS Excel 2013. Its purpose is to provide the days between two dates. Prior to this, we used End date-Start date.
Key Highlights
- The DAYS function in Excel is a formula designed to compute the count of days between two given dates.
- The syntax for the function is “=DAYS(end_date, start_date).” Therefore, the end date is specified as the first argument in the formula, and the start date is specified as the second argument in the formula.
- When both arguments are numbers, the DAYS function will use Enddate-Startdate to calculate the number of days between both dates.
Formula for the DAYS Function
=DAYS (end_date, start_date)
The function requires two arguments: Start_date and End_date. They are the two dates between which we wish to calculate the number of days.
How to Use the DAYS Function in Excel?
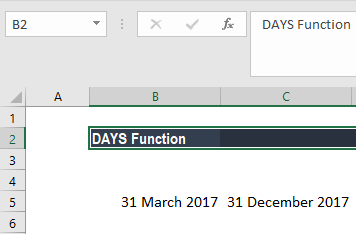
It is a built-in function that can be used as a worksheet function in Excel. Let’s take an example. We are given the two dates below:
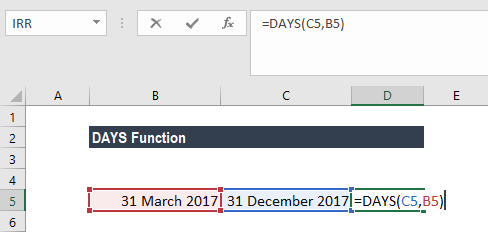
So here we would use the formula =DAYS(C5,B5)
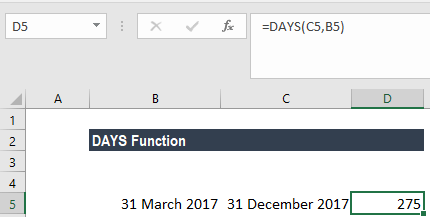
Using the formula above, we would get the result below:
Examples of the DAYS Function in Excel
To understand the uses of the DAYS function, let’s consider a few examples:
Example 1
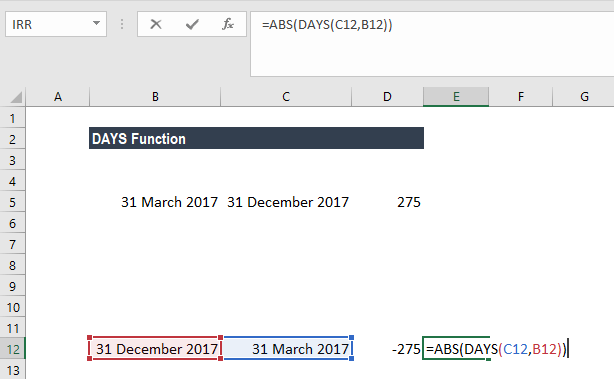
Let’s assume we have entered dates that are not in order. In that scenario, we can use the DAYS function as follows. Using the data below, when we use DAYS, we would get a negative value.
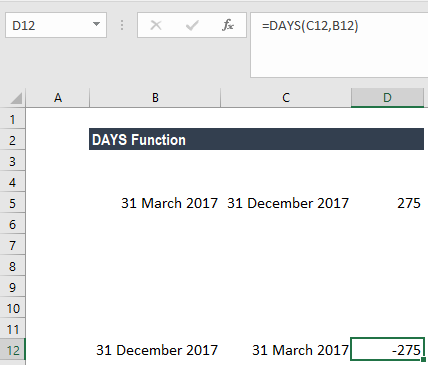
In such a scenario, the DAYS function can be used along with ABS function as shown below:
We will get the result below:
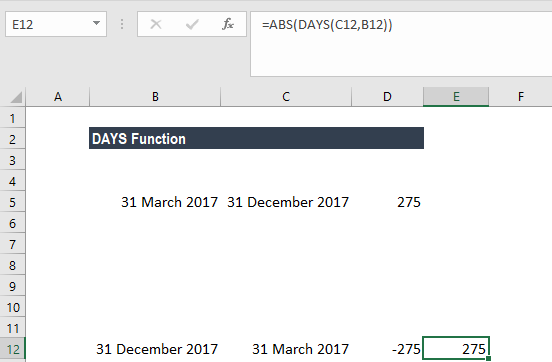
Using the ABS function, the result will always be a positive number regardless of the order in which dates are entered as parameters in the DAYS function.
Example 2
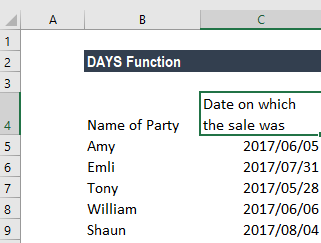
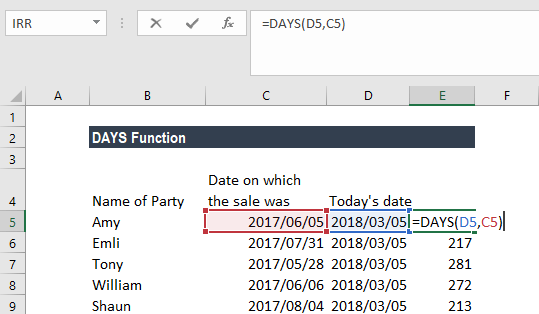
Let’s assume we have a business that provides debtors a 90-day credit period. As an analyst, we have been given information about the day on which customer entered into a contract and we need to calculate and see if 90 days have been completed or not as of today. The data is given as follows:
Let’s see how DAYS function can be used:
First, we shall use the TODAY function to find out the date as of today.
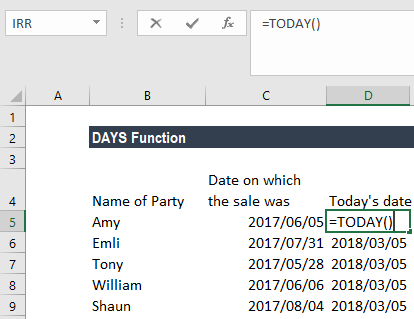
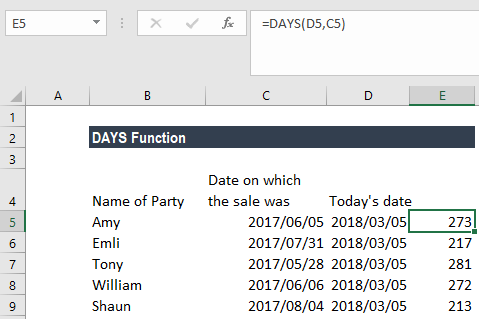
After that, in column D, we will use the DAYS Function and find out how much time has passed since the goods were sold to the customers.
Example 3
Let’s see how the DAYS function works in different scenarios. The function helps to create more complex calculations with dynamic variables. Let’s see how using the data provided below.
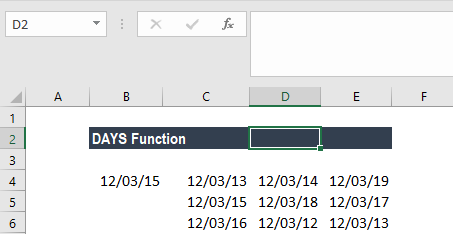
Now we are given the data in column B to Column D. We need to look up for the date given in A2 and also calculate the number of days from 3/12/2013. In this scenario, we can calculate using the formula =DAYS(VLOOKUP(A2,B2:D4,1, FALSE),B2) as shown below:
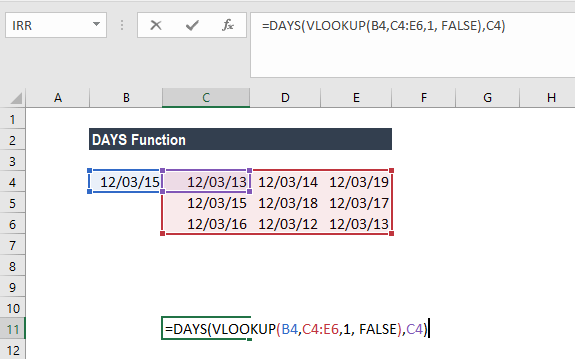
The above formula would look up for December 3, 2015, in the array of data and then calculate the number of days from December 3, 2013,.
Things to Remember About the DAYS Function
Tip #1
When both arguments are numbers, the DAYS function will use Enddate-Startdate for calculating the number of days between both dates as shown below.

Remember that Excel converts each date into a number and then does the calculations. Excel accepts dates from 1900 to 10000 years. If we wish to see the dates, the above numbers pertain to:

Tip #2
When any one of the arguments is text, the argument is treated as DATEVALUE(date_text). In this scenario, it will return an integer date instead of a time component.
Tip #3
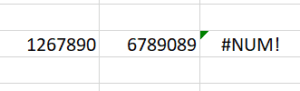
The #NUM! error would occur when the numerical value given for a date argument is outside the range of valid dates. For example:
Tip #4
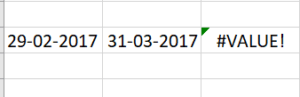
The #VALUE! error is returned when one of the date arguments is a string that is not described as a valid date.
Tip #5
The #NAME? error is returned when the syntax used in the formula is incorrect.
Click here to download the sample Excel file
Connect what you just learned to a clear career path with CFI’s role‑based courses and certification programs.
Additional Resources
Article Sources
Excel Tutorial
To master the art of Excel, check out CFI’s Excel Crash Course, which teaches you how to become an Excel power user. Learn the most important formulas, functions, and shortcuts to become confident in your financial analysis.

Launch CFI’s Excel Crash Course now to take your career to the next level and move up the ladder!