Alphabetize in Excel
Organizing data in Excel from A to Z
How to Alphabetize in Excel?
This guide will show you how to alphabetize in Excel using the Sort and Filter functions to organize your data from A to Z. This feature is particularly useful for large datasets where it would take a very long time to alphabetize information in Excel manually.

Before you go on to learn more about Alphabetizing in Excel, use the form below to download CFI’s Excel Shortcuts Cheat Sheet.
Steps on How to Alphabetize in Excel
Follow the steps below to sort your data from A to Z (or in reverse, from Z to A). It’s important to point out that the Sort function can also be used or organize data from the largest to smallest and smallest to largest. We will outline the steps using two different methods: Sort and Filter.
Method #1 – Sort
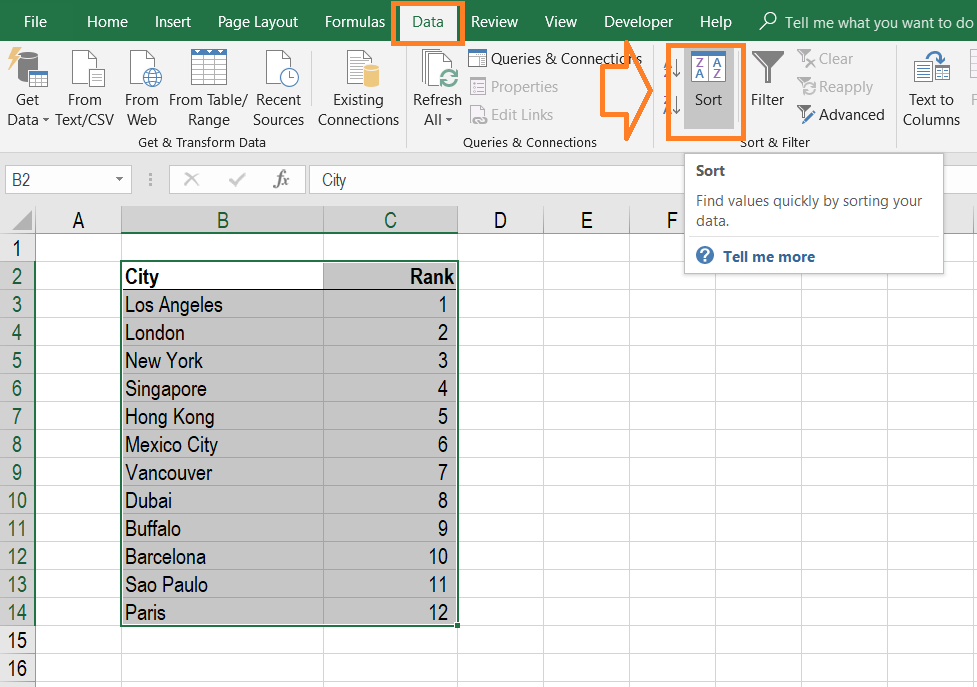
To alphabetize in Excel using Sort, select the data, go to the Data Ribbon, click Sort, then select the column you want to alphabetize by.
Step 1
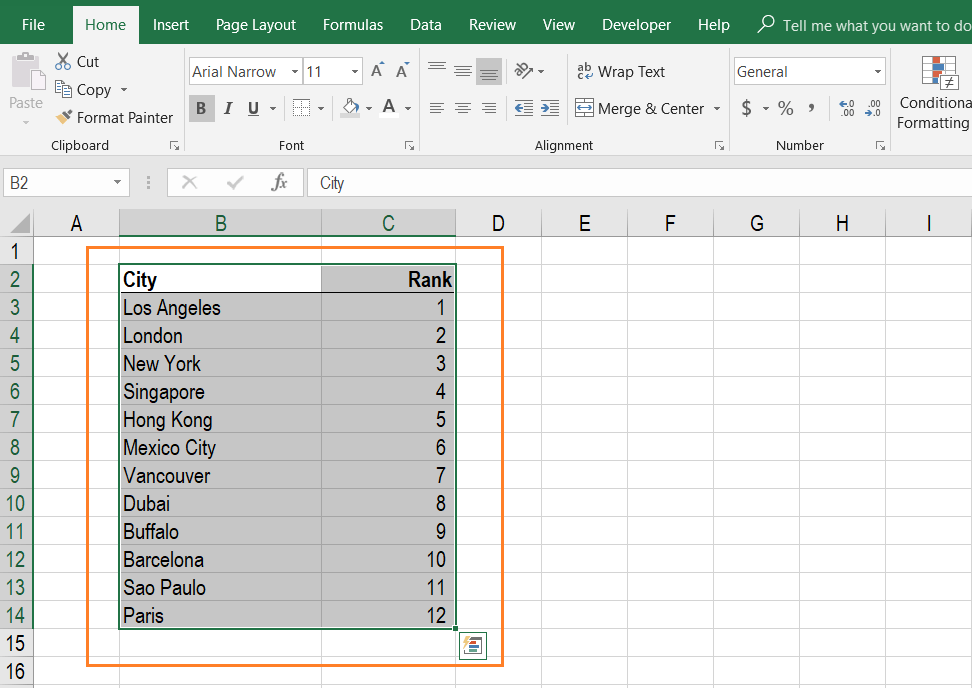
Select the data you want to alphabetize with your cursor. You can select just one column, or multiple columns if you want to include other information. In the screenshot below, you can see how two columns are selected. This means Excel will match the data in the second column to the alphabetical order of data in the first column.

Step 2
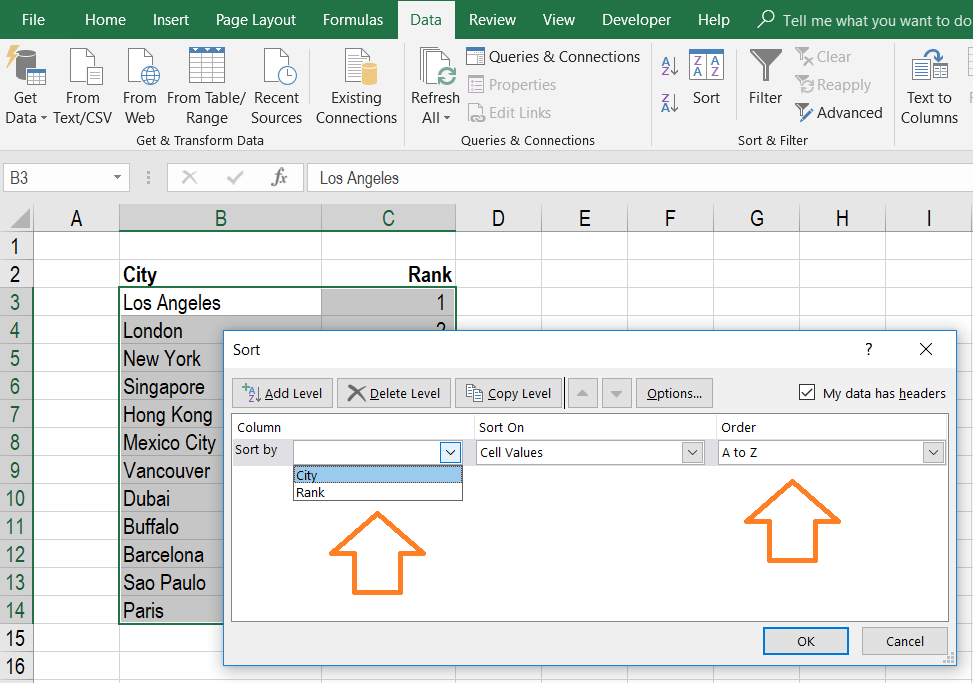
Once the information is highlighted, access the Data Ribbon and select the Sort function. A dialogue box will then appear, and you’ll be prompted to choose which column you want to use to sort the data by. In our example, we chose ‘City.’ Then decide if you want to alphabetize from A to Z or reverse-alphabetize from Z to A.
Step 3
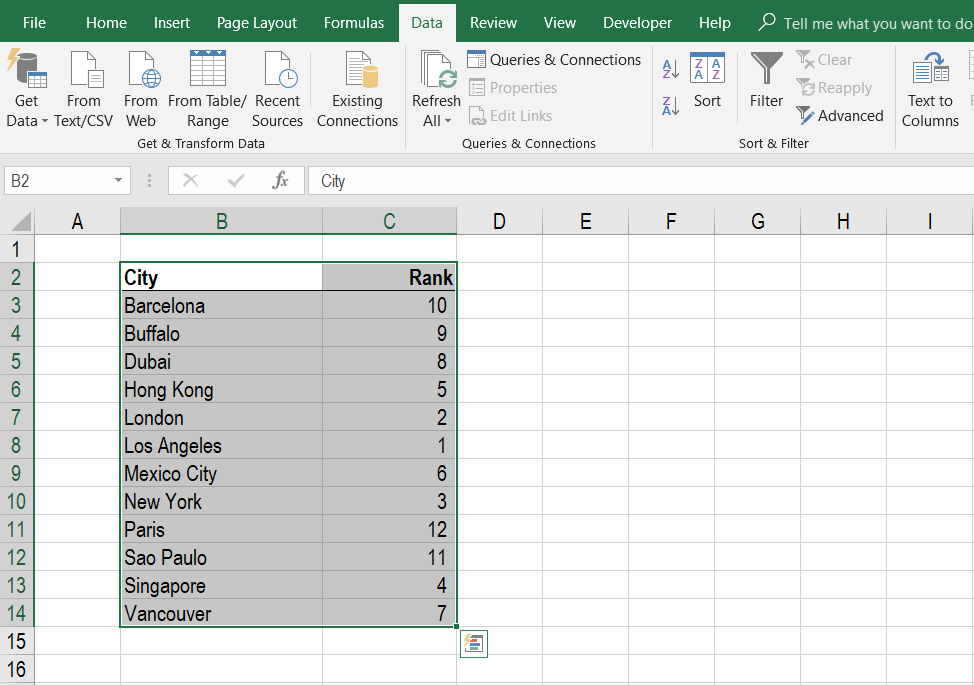
Press OK and view your results, as shown below. If you wish to undo the sorting, you can Undo the action by pressing Ctrl + Z.
Method #2 – Filter
Now we will show you how to alphabetize in Excel using the Filter function. This method should be used if you plan on repeating the action multiple times, as you will have a lasting option to keep resorting or unsorting the information.
Step 1
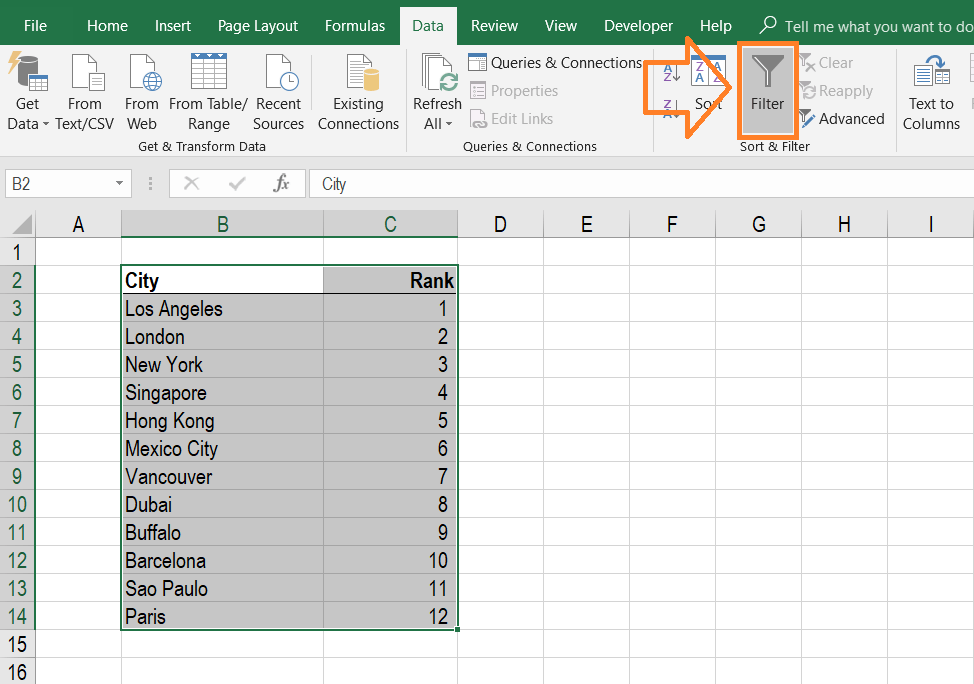
Select the data you want to be in alphabetical order, including any additional columns that you want to be included. In our case, this is both City and Ranking.
Step 2
After the information is selected, access the Data Ribbon and then click Filter. This will automatically add a small drop-down arrow to the top of each column you selected. Click on the arrow at the top of the column you want to alphabetize, then select either A to Z or Z to A.
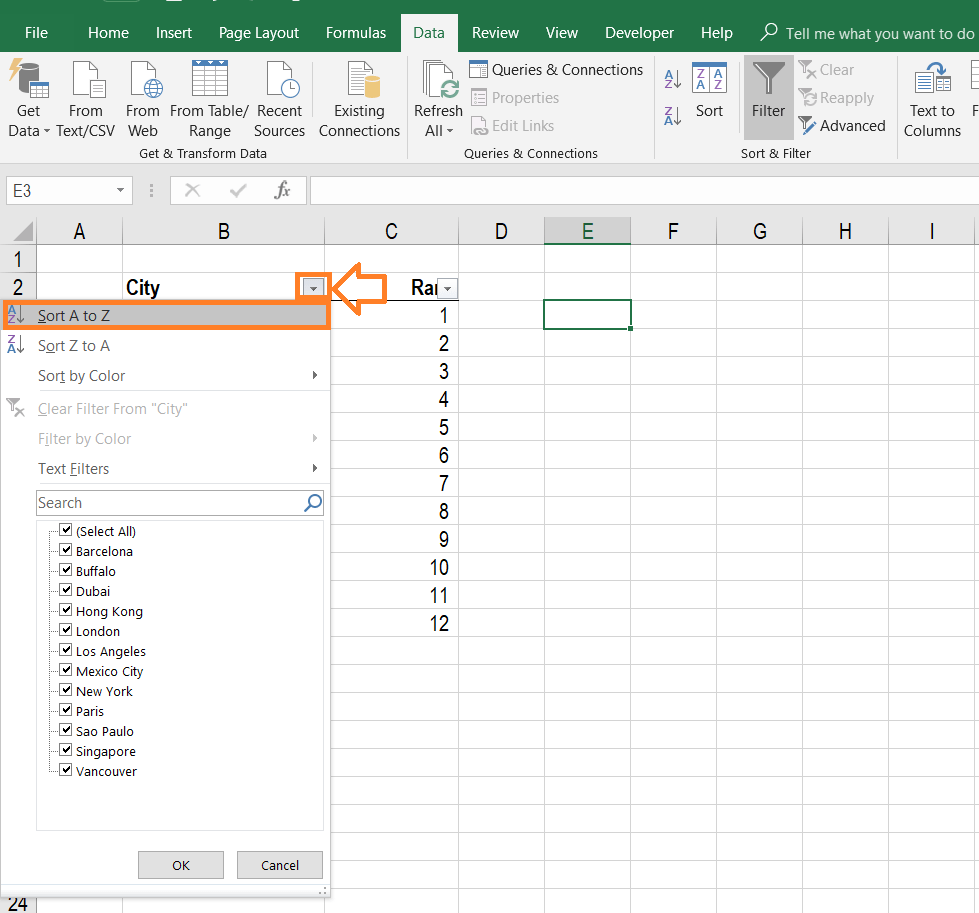
Step 3
You can now sort any column in the table by clicking the down arrow and alphabetizing it.
Additional Resources
Thank you for reading CFI’s guide to how to alphabetize in Excel. To learn more about how to become a world-class financial analyst, check out the additional CFI resources below:
Excel Tutorial
To master the art of Excel, check out CFI’s Excel Crash Course, which teaches you how to become an Excel power user. Learn the most important formulas, functions, and shortcuts to become confident in your financial analysis.

Launch CFI’s Excel Crash Course now to take your career to the next level and move up the ladder!